some details

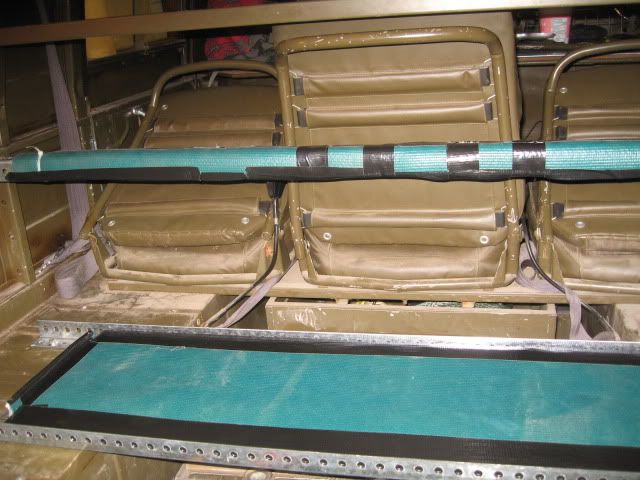
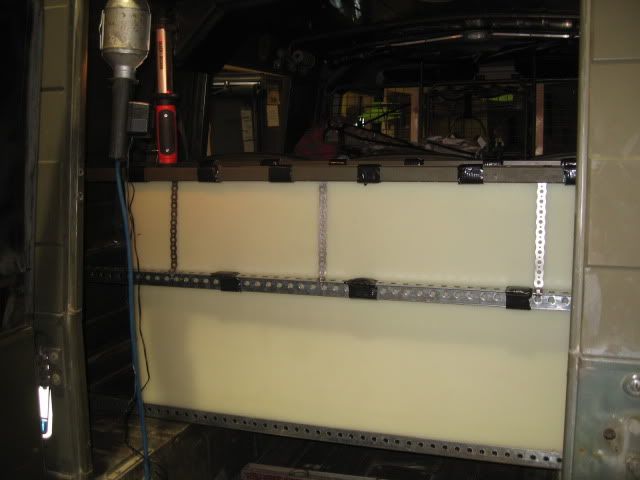
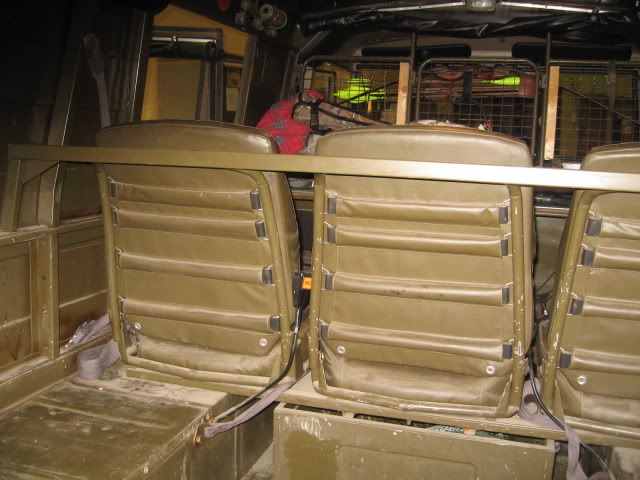
the back with all the shelves taken out.
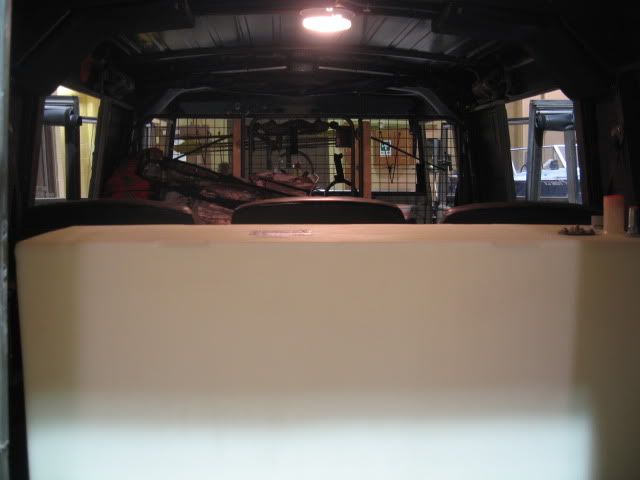
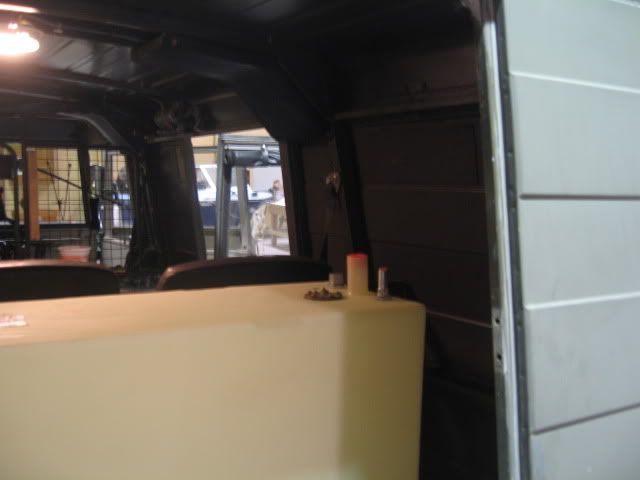
With her in there
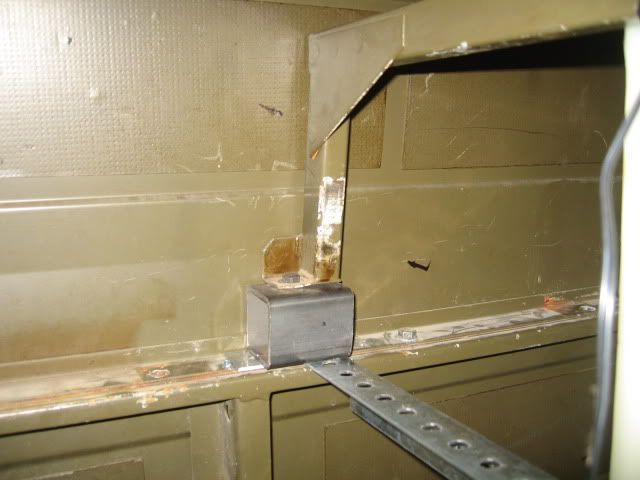
So today my original is getting welded back together and I will start on this one.
CONCERNS: any help would be appreciated here.
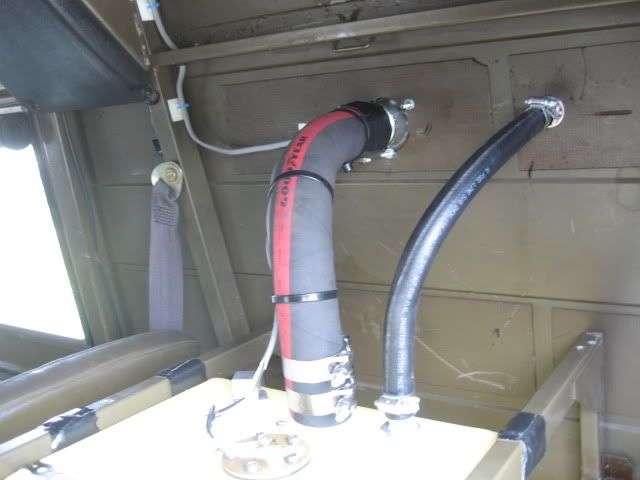
1 - Venting and filler to go on the back end or side? I was thinking the back end for filler - side for vent (less fumes).
2 - Static collector: - do I ground before the shut off switch or after.
3 - should I mount it on rubber?
Thanks
Jer Bear