

Thanks to everyone for their information!! I would like to keep with LED's though.
Foz...how did you mount the lights? Did you buy red and yellow and install in a two-hole bracket, or with a back-up light?
Cheers!
LED Brake Lights
Moderator: TechMOGogy
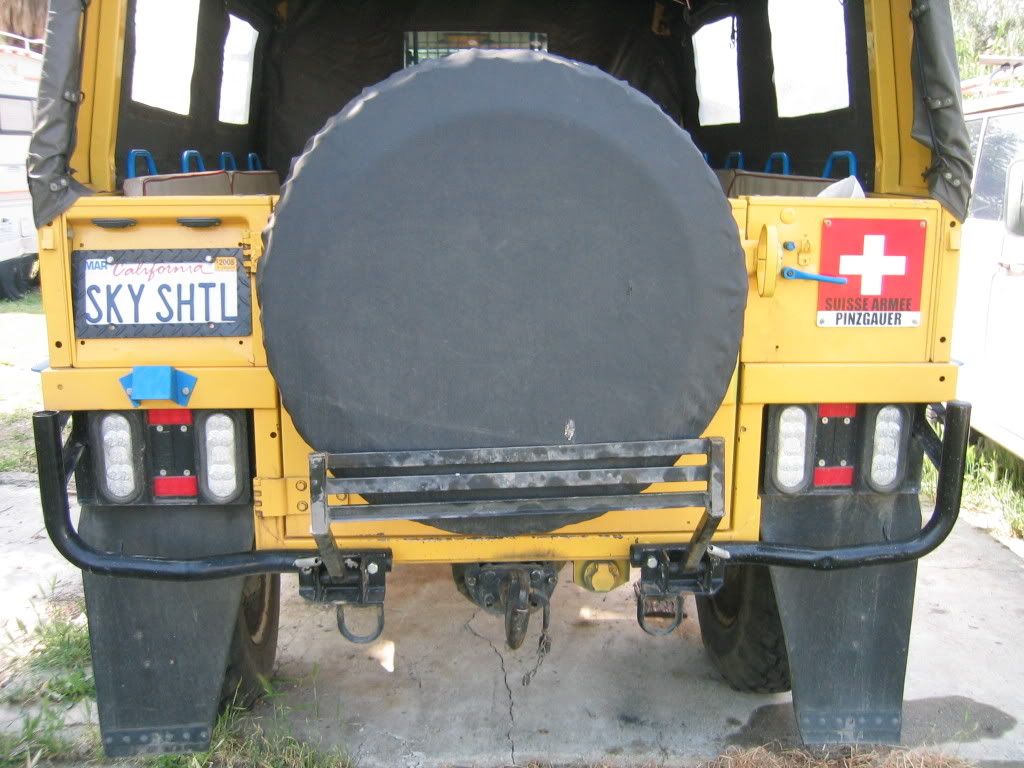
I used a hole saw to cut a hole next to the stock lights - connected a ring under one of the stock light's bolts for a ground and tied the other leads into the stop and turn signal circuts respectively. The Stock lights are still 100% original... the new LED just augment the signals. I used the grommet mount version [sans grommet - they are held in by friction and a daub of epoxy putty and so mount flush to the body panel]:
http://www.buytruckstuff.com/product.as ... &p_gpID=54

One could alternatively mount a flange off the ledge above the body panel which houses the stock lights and use the flange mount version.
http://www.buytruckstuff.com/product.as ... p_gpID=130
http://www.buytruckstuff.com/product.as ... &p_gpID=40
The results are plenty bright in daylight... I'm told there are downright impressive on the road at night during turn indication plus braking... impossible to miss or misunderstand.

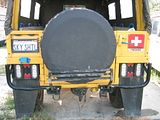
Also added a pair of reflectors at the top corners and a pair of 12v [in series] halogens for for rear work lights / reverse indicators.. these are wired to the small white pull switch next to the hazard light switch.

The silver blob is a desktop web cam I hook to the PC on the radio desk and use as a rear view cam. Which can be left running in the corner of the GPS / USGS topo map display if desired.

Also have installed four 24v Xenon lights for night riding in "Close Encounter" mode... a pair on the bow, and one on each side amid ship.

http://www.buytruckstuff.com/product.as ... &p_gpID=54
One could alternatively mount a flange off the ledge above the body panel which houses the stock lights and use the flange mount version.
http://www.buytruckstuff.com/product.as ... p_gpID=130
http://www.buytruckstuff.com/product.as ... &p_gpID=40
The results are plenty bright in daylight... I'm told there are downright impressive on the road at night during turn indication plus braking... impossible to miss or misunderstand.
Also added a pair of reflectors at the top corners and a pair of 12v [in series] halogens for for rear work lights / reverse indicators.. these are wired to the small white pull switch next to the hazard light switch.
The silver blob is a desktop web cam I hook to the PC on the radio desk and use as a rear view cam. Which can be left running in the corner of the GPS / USGS topo map display if desired.
Also have installed four 24v Xenon lights for night riding in "Close Encounter" mode... a pair on the bow, and one on each side amid ship.
Foz
-
Lightningpinz
- Posts: 218
- Joined: Mon Apr 19, 2004 7:32 pm
- Location: Lakewood, Co
If you are going for the "full military look" these are a bit pricy, but they have the look. And, they are functioning black out lights. Price is partially because meet Mil spec. Having worked in manufactureing where we did mil spec stuff, the joke was what is a mil spec mouse? An elephant. Only the mil spec people will understand.
Anyway, here is the link from truck-lite.com
http://www.truck-lite.com/webapp/wcs/st ... &langId=-1
These European are what Patrick at CWRI is doing. Now you can understand his price.
http://www.truck-lite.com/webapp/wcs/st ... &langId=-1
Anyway, here is the link from truck-lite.com
http://www.truck-lite.com/webapp/wcs/st ... &langId=-1
These European are what Patrick at CWRI is doing. Now you can understand his price.
http://www.truck-lite.com/webapp/wcs/st ... &langId=-1
-
rick.byrne
- Posts: 4
- Joined: Wed Apr 14, 2004 4:19 pm
- Location: Northampton, UK
24V LED tail/brake lamps
I recently bought two 24V LED tail/brake replacement bulbs, which I'm very pleased with:
http://cgi.ebay.co.uk/LED-Red-Light-Glo ... dZViewItem
The 1157 base fits the conversion socket sold by SAV
http://www.swissarmyvehicles.com/showde ... no=SAV1003
First impressions - LED tail light brighter [and worth the purchase], but brake light intensity about the same! If, like me, you want to stay with the OEM Swiss Army rear lights and would like LEDs', this is worth a look!
LEDs' arrived in UK from Australia in < 1 week.
Rick
Rick Byrne
1975 710K
1975 710K
-
2012
-
rick.byrne
- Posts: 4
- Joined: Wed Apr 14, 2004 4:19 pm
- Location: Northampton, UK
LED rear light
I replaced a 24V 21/5W dual filament bulb with the LED bulb: LED tail light is brighter than 5W filament and LED brake light about same intensity as 21W filament. Hope that helps.
PS The photo in the link I gave for SAV doesn't look right, in that there should be two connectors at the bottom - one for tail light and one for brake. I bought my conversion kit in 2003 and the code then was SAV1003. If you're thinking of buying this check with SAV before ordering.
Rick
PS The photo in the link I gave for SAV doesn't look right, in that there should be two connectors at the bottom - one for tail light and one for brake. I bought my conversion kit in 2003 and the code then was SAV1003. If you're thinking of buying this check with SAV before ordering.
Rick
Rick Byrne
1975 710K
1975 710K
-
2012
My LED's
These cost me about 140.00 total. They are so bright as to be unbelievable.
I got them from a trucker supply company and also got the "L" brackets for them. Took about an inch off each one and they made perfect mounting brackets. If you need or want more info PM me and I will try to find the specifics.
I got them from a trucker supply company and also got the "L" brackets for them. Took about an inch off each one and they made perfect mounting brackets. If you need or want more info PM me and I will try to find the specifics.
Tim Nelson
1972 710m
"ParaPinz"
1972 710m
"ParaPinz"
-
2012
-
Lightningpinz
- Posts: 218
- Joined: Mon Apr 19, 2004 7:32 pm
- Location: Lakewood, Co
There are a couple of ways to do the yellow turn signal and red brake light conversion. Several of the Pinzie dealers have a "convertor" that takes a brake/ turn signal indication and gives out turn and a brake indication.
I personally went to the brake light switch and unhooked the wire to the turn signal. If memory serves correctly, the red/black is power in to the switch and the other is the signal out. I hooked a new wire to the terminal and ran it to the rear of the Pinz. I then hooked the existing turn/brake wire to the turn signal bulb. The new wire from the switch is hooked to the brake light bulb. I have done several conversions this way.
I personally went to the brake light switch and unhooked the wire to the turn signal. If memory serves correctly, the red/black is power in to the switch and the other is the signal out. I hooked a new wire to the terminal and ran it to the rear of the Pinz. I then hooked the existing turn/brake wire to the turn signal bulb. The new wire from the switch is hooked to the brake light bulb. I have done several conversions this way.
-
David Dunn

- Posts: 2279
- Joined: Wed Apr 14, 2004 7:08 pm
- Location: Arcadia, CA
John
There is no need to run a new wire, the pink wire in the rear for the convoy lights goes to the headlamp switch, remove the wire from the switch and add a pigtail to it. Done a few this way when installing the dual filament sockets.
Dave Dunn
There is no need to run a new wire, the pink wire in the rear for the convoy lights goes to the headlamp switch, remove the wire from the switch and add a pigtail to it. Done a few this way when installing the dual filament sockets.
Dave Dunn
.
The Trojan Horse... the 1st Pinz used to covertly carry troops into battle .
ATL Pinzgauer XM 718K TUM(HD) 6x6 FFR (aka The Green Grail)
The Trojan Horse... the 1st Pinz used to covertly carry troops into battle .
ATL Pinzgauer XM 718K TUM(HD) 6x6 FFR (aka The Green Grail)
-
2012
man, i've read this a few times and just do not get it. maybe when i get home and read it again?
sorry... maybe i've had too much caffeine today. i'll look at the schematic when i get home, too.
your way of doing the turns sounds like the way i want to do it, avoiding extra electronics. feel free to help me understand what you meant there. i think i might be able to sort it all out on my own if i can sit with it. thanks for your post anyway. at least i know it can work the way i want it to without added electronics.
-
Lightningpinz
- Posts: 218
- Joined: Mon Apr 19, 2004 7:32 pm
- Location: Lakewood, Co
The reason for the new wire is the pink is usually used already for a back up light.  And unfortunately it is not a digital line where I can run a multiplexed digital signal down the line to a A to D convertor. (Like a late model Lexus with an optical cable backbone). Gotta check and see if it meets the sonet specs